Contents
Getting started
To create a new survey or audit, simply click the Create new project button on the homepage.
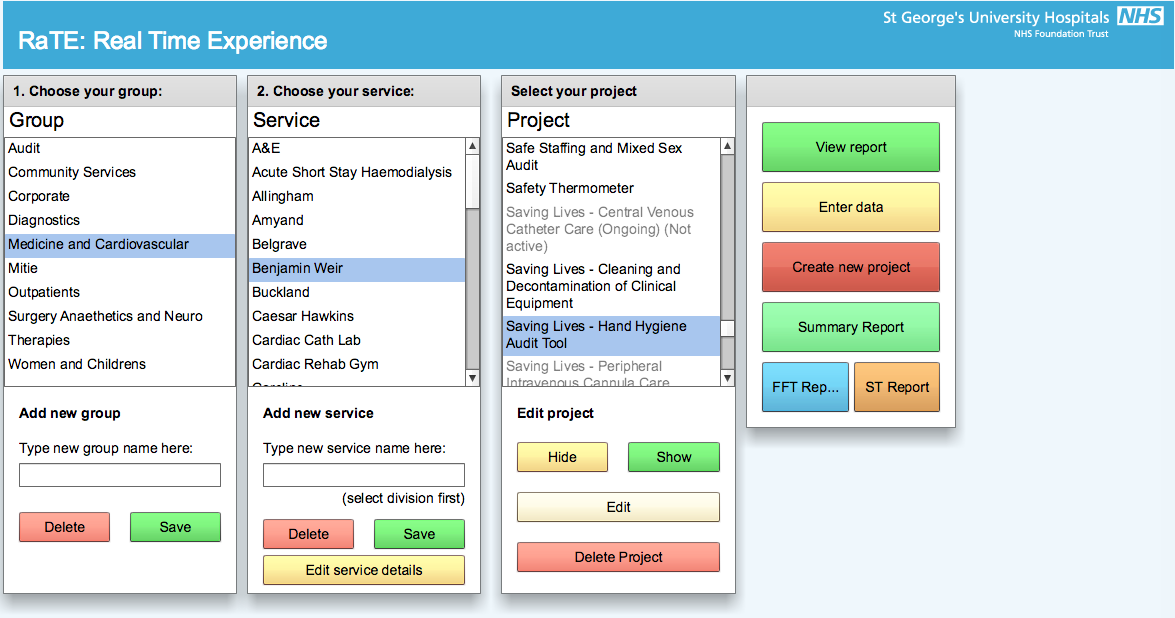
To edit an existing project, select Edit from the Edit Project Menu. From this menu, you can also choose whether to Hide or Show a project.
To permanently delete a project form the system, select Delete Project.
Project details
Firstly, you will need to enter a name for your project – this should be unique as possible, for example “Outpatient Survey 2015/16” rather than “Survey.”
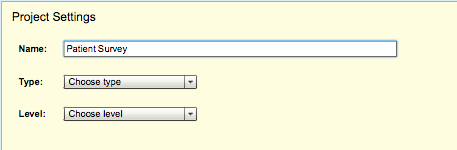
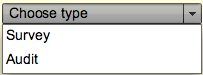
There are two types of project you can create:
- Survey – for completion by a member of the public or staff member that wishes to remain anonymous. These projects are optimised to be as clear as possible, and limit what the respondent can do.
- Audit – used by members of your organisation to record data about themselves or their service. These feature additional feedback and options to help staff track their progress.
Controlling who can take part
You can control who can complete your project by selecting one of the following options in the Choose level dropdown:

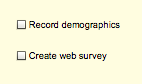
You can also choose whether you want to Record demographics or Create a web survey.
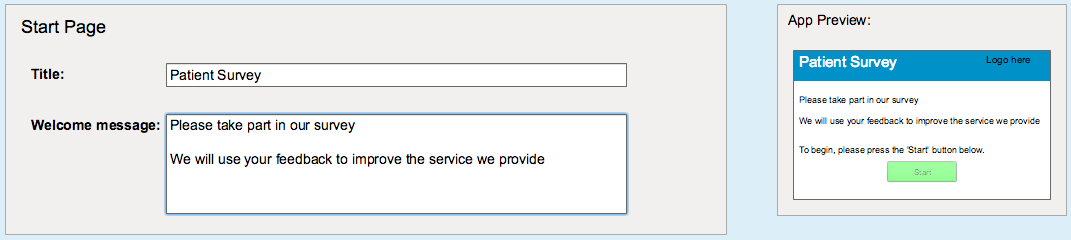
Now you can enter a title for the project – this is the name of the survey as it will appear when being completed.
A welcome message can also be added to provide further information to whoever’s completing it.
The app preview on the right shows you what the start screen will look like on a tablet using the app.
Creating a question
Press Click here to get started! to add your first question.
![]()
You can now type in your question, and select they type of question you’d like to ask. To learn more about the different types of questions available, click here for some examples.
Now lets break down how each section can be used to tailor the conditions of the project.
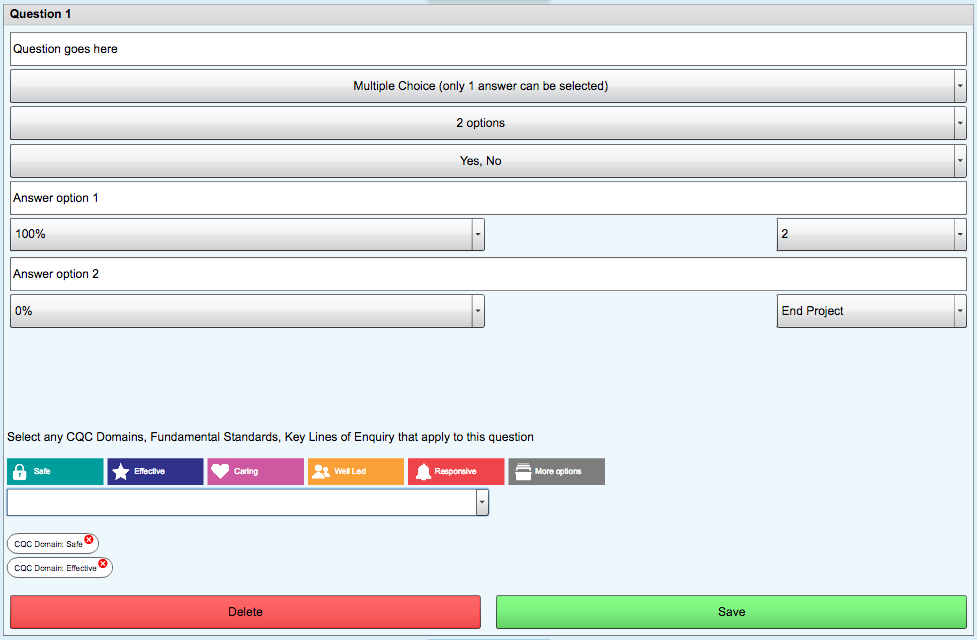
Firstly you will need to type or paste your question into the space labelled above.
Now you can choose the type of question you wish to ask.
Some question types do not require answer options. However in this example the question type is Multiple Choice and so answer options are a necessary component.
Scores can be applied by proportional percentage to these answer options if these options have positive and negative connotations. In the overview above, the answer option Yes is scored positively at 100%, whereas the answer option No is scored negatively at 0%.
You can also use the Skip to feature to change the flow of the project. This will allow you to change the direction of questioning based on the answers received. In overview example above the answer Yes continues to question 2, whereas No skips directly to the end of the survey.
Press Save once you’ve finished – this will minimise the form, and give you a summary of the question.
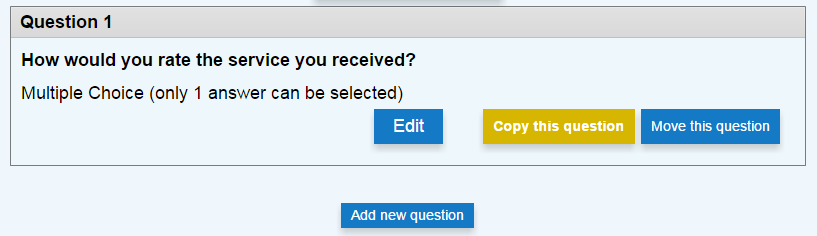
Copying and Reordering questions
Having saved a few questions, you can either copy or reorder them by clicking the appropriate button.
![]()
You can then choose where you’d like to insert the question in the project or Cancel the action.
![]()
Finalising the project
After creating all of your questions, you can add a title / leaving message to the very end of your project to thank your users or give additional instructions.

Once you are happy with the project you have created, just hit the Save Project button to finalise the project.
![]()
Once saved, your project is now available for completion!